
When your car starts acting up, especially with electrical issues, a multimeter becomes one of the most important tools in your toolkit. It helps you check voltage, continuity, resistance, and current, allowing you to quickly identify faults in your vehicle’s electrical system. Whether you’re a professional mechanic or a DIY car owner, knowing how to use a multimeter can save you time and money on diagnostics.
1. What Is a Multimeter?
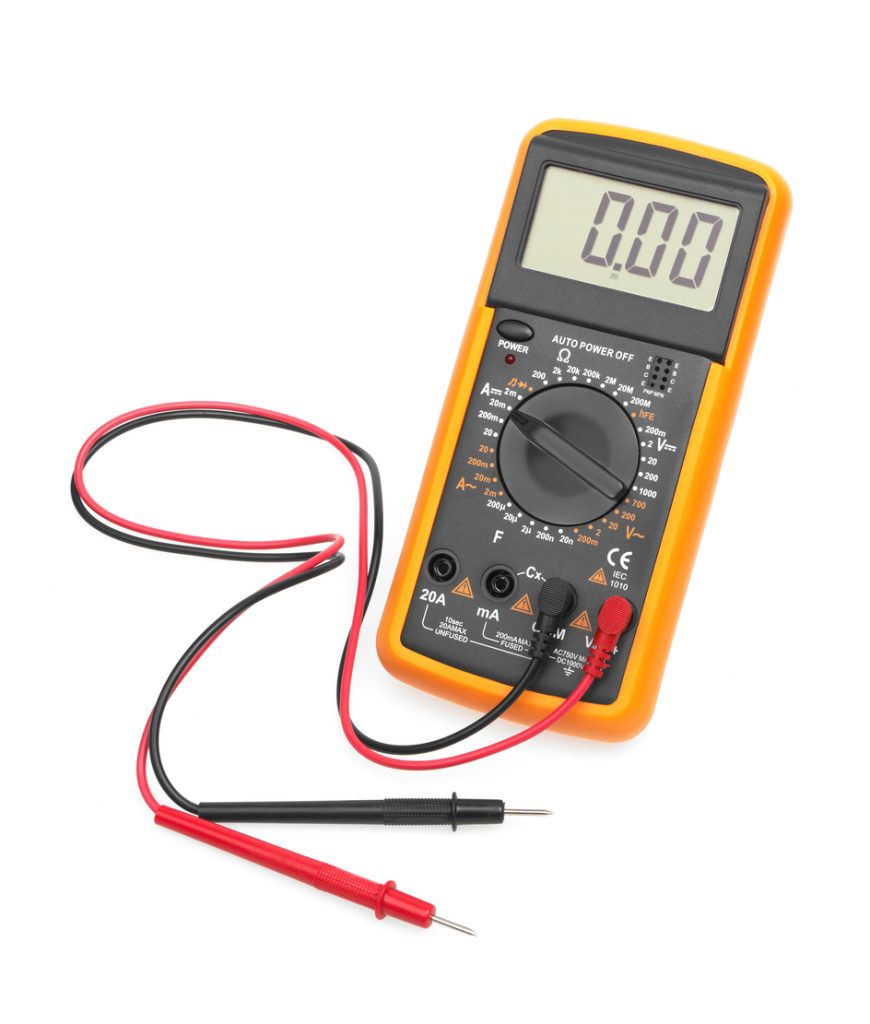
A multimeter is an electronic testing device used to measure various electrical properties. There are two main types:
- Analog Multimeter – Uses a needle display; suitable for general voltage checks.
- Digital Multimeter (DMM) – Offers more accurate readings and digital displays; perfect for automotive use.
2. Why You Need a Multimeter for Car Repairs
Modern cars rely heavily on electrical systems for ignition, lighting, sensors, and controls. A faulty battery, alternator, or wiring can affect performance or prevent your car from starting. Using a multimeter helps detect issues before they escalate.
3. Essential Safety Tips
- Always turn off the ignition before connecting or disconnecting wires.
- Use insulated gloves if you’re unsure about the voltage level.
- Read your multimeter’s manual carefully before testing any component.
4. How to Use a Multimeter Step-by-Step
Step 1: Set Your Multimeter
Turn the dial on your multimeter to the appropriate function:
- DC Voltage (V–) – For checking car batteries and wiring.
- Resistance (Ω) – To test fuses or sensors.
- Continuity – To ensure wires aren’t broken or disconnected.
Step 2: Test the Car Battery
Connect the red probe to the positive terminal and the black probe to the negative terminal. A healthy 12-volt car battery should read between 12.4V and 12.7V when the engine is off. If it’s below 12V, your battery may need charging or replacement.
Step 3: Check the Alternator
Start the car and measure the voltage again. The reading should be around 13.7V–14.7V. Anything lower means the alternator isn’t charging properly, while higher readings may indicate a faulty voltage regulator.
Step 4: Inspect Fuses and Wiring
Set the multimeter to continuity mode. Touch both ends of a fuse or wire with the probes. If the multimeter beeps, it means current can pass through; if it doesn’t, the fuse or wire is likely blown or broken.
5. Common Car Problems You Can Diagnose with a Multimeter
- Weak or dead car battery
- Alternator not charging properly
- Bad spark plug or ignition coil
- Blown fuses or faulty connections
- Malfunctioning sensors (e.g., oxygen sensor, MAF sensor)
6. Choosing the Right Multimeter
Look for a digital multimeter with auto-ranging, backlit screens, and strong leads. Reliable brands like Fluke, Klein Tools, and AstroAI offer models suitable for automotive use.
7. Maintenance and Storage Tips
- Keep your multimeter in a dry, dust-free case.
- Replace batteries regularly to maintain accuracy.
- Check the probes for wear and tear before each use.
Conclusion
Knowing how to use a multimeter can transform how you approach car maintenance. It not only helps detect electrical issues quickly but also saves you from unnecessary trips to the mechanic. Whether you’re troubleshooting your battery, alternator, or wiring, this simple tool gives you the power to understand your car’s electrical health confidently.